
Buildings: I ordered some colour printed card houses by Plastcraft. 4 buildings for about $45.00. Not bad.
However, when I say "card" they are really printed on that acrylic, foam-card stuff. Not foamcore... Sort of a plastic board stuff. They were reasonably cheap and, although they have some very noticeable joins and edges, they were quite quick to make and look half decent. I guess I can always patch up the edges and whatever but at this stage I'm happy with them.
The only thing that was annoying about them was that there were no instructions in the box. This was quite daunting when I first opened the box but after making one house the quantity of pieces was less and construction became progressively easier.
For what I paid, they look okay.

Some 20mm figures for comparison.


~~~~~~~~~~~~~~~~~~~~~~~~~~~~~~~~~~~~
Roads: I made some dirt roads. I've been wanting to make some of these for a while but I couldn't find a suitable material that I was happy with. But a couple of days ago I found a small roll of non-slip rubber mat for $4.00 at ALDI and I thought it might work.
I cut it into 3"x 12"strips and added a coat of dark brown caulk. I waited for it to cure overnight and then found that the mat material had curled. I remembered a video I saw on You Tube where a guy used gaffa-tape on the underside to counteract this curling and so I applied some gaffa-tape. And it worked!

(Note: gaffa-tape is what Americans call duct tape.)

I then gave the pieces a drybrush of some sand colour and then used my home made flock to do the edges.
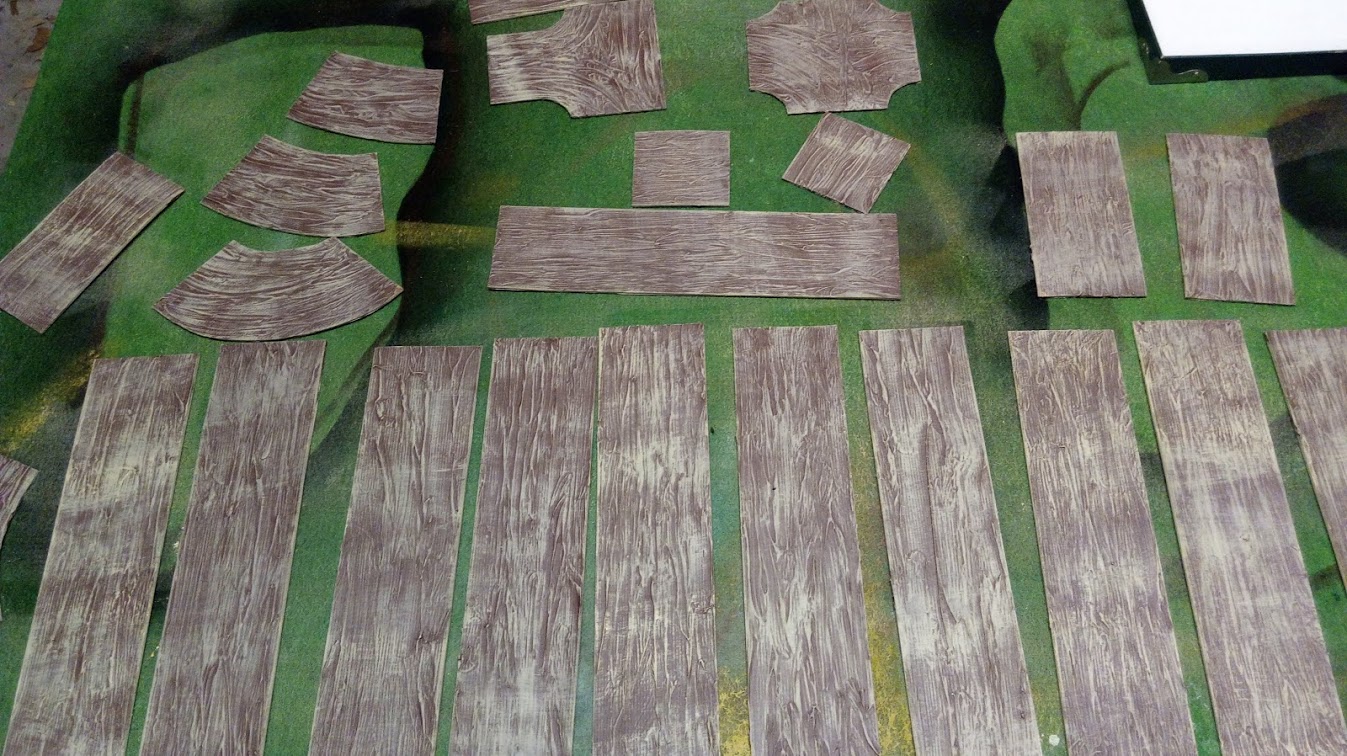

AND... Today I visited ALDI gagain and picked up another roll of the non-slip mat and a tube of darkgrey sandy textured caulk and I'm going to make some tarmac roads next.
~~~~~~~~~~~~~~~~~~~~~~~~~~~~~~~~~~~~
Tanks... I finished some more tanks. I made these little guys a couple of weeks back and they've been waiting for some paint.
A carrier section. The carrier on the right is metal and was gifted to me by a friend when I bought a Cromwell from him. It will be the platoon command vehicle when I finish the final section.


And also... I made some blinds for I Ain't Been Shot Mum. These are used for hidden movement and I think they could be usable for other games. I used Photoshop to make them because I didn't like any of the generic ones available for download. As you can see they are alphabetized from A to L with a pair of blank ones in each set. If I can work out how to share pdf files on this blog I'll put them up for download.

Excellent looking terrain sir!
ReplyDeleteThanks Michal. Terrain is one of those things that I don't really enjoy making. I can make things up to a certain level but not really great stuff.
Delete