One fine day in Sicily...
Two great armies stood across the plain looking at each other. The skirmishers in the front ranks advanced and the battle began.
Today I introduced my friend Pete to, To The Strongest. He had a Carthaginian army that he inherited from his son and I brought my Macedonians along to give them a good beating. To make up numbers I took my half completed Iberians to fill out the ranks of Carthago.
I played a couple of games of TtS last year so I was pretty rusty on some of the finer details. But the idea of the game was to get a basic game happening. We can iron out details and other things we got wrong in later games. Today was about getting figures on the table and getting a game going. And it was a great game!
My weak left. It was held by theurophoroi, Thacian peltasts and light cavalry.
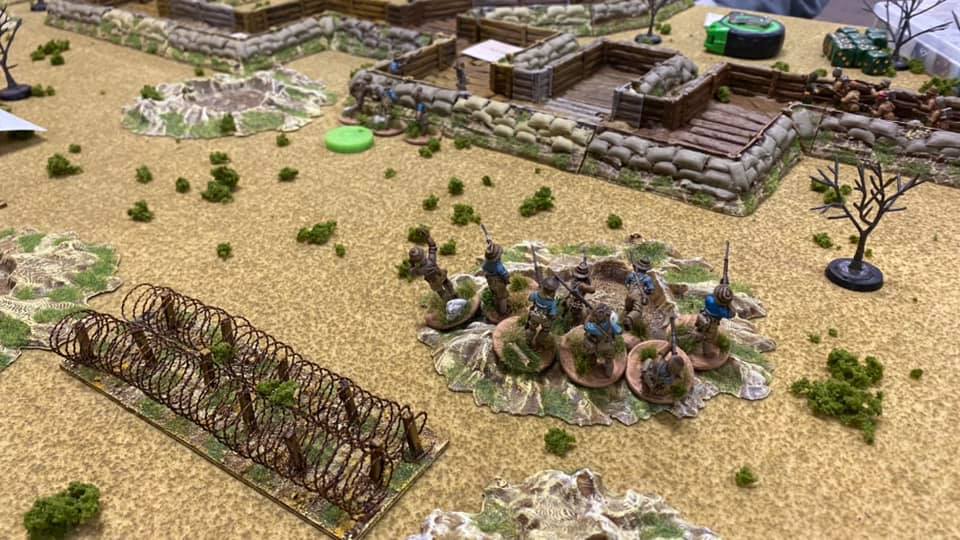
Facing them were the Iberians who were pretty much equal in infantry but stronger in cavalry.
The early game was very much a clash of skirmishers. Javelins and arrows few as the light troops fought. Neither side gained any advantage in the initial exchanges. There were very few hits and all of them were saved. I sent my skirmishers well ahead of the phalanx, opting to keep my pikes in place and advance when the way was clear.
The first few turns were spent trying to get our light troops into range and then we set to a war of arrows and javelins. We kept record of the arrow ammunition but not the javelins. They did bugger all at first but eventually our units started falling and going 1 for 1 as our missiles hit and armour saves were failed.
The Carthaginians deployed with their Citizen Infantry and Italian allies in the center. They put the Iberians on my left and a mix of Gauls and Numidian horse facing my right. I deployed in a classical Macedonian way with my strength on my right and my weaker troops on my left.
The first real fighting happened on my weak left. The Iberians took some high ground and their cavalry soon began to out flank me. I had advanced a bit too far and now I had to try and protect my flank. First blood went to my light horse who charged the flank of some heavy Spanish cavalry (The little red dot is what we used to mark "Disorder").
Also, we used a bag of chits for orders/activations and we each had a deck of cards for our combat/saves. I found that cards were a bit to intrusive for 15mm troops so I made these up using Photoshop.
I put out a couple of Elephants. They look great and really add flavour to the game but they're are a pain in the arse. They broke a couple of light units but I was too afraid to get up close behind them in case they rampaged through my phalanx. Both ended up running amok but they did very little disruption. I'd definitely use them again, but maybe off to one side and not right in front of my best troops.
I eventually decided the time was near for some bold action and my king advanced the heavy Macedonian cavalry and charged in to a large unit of Gallic heavy cavalry (see above). For a few turns the battle kept on going with neither side gaining the upper hand. My smaller unit of cavalry was pushed back by a warband and got flanked by Numidian cavalry who entered some woods on my right (we weren't sure what to do here but we'll work that out for later games).
However, in the very first charge the Carthaginian general was killed (
I think his name was Handlebar Barker). This put a dent in the Punic plans.
As the fight on my left continued my light cavalry were progressively defeated because I was stupid and used them to charge instead of using their missiles. As you can see I was getting well and truely out flanked. The only ray of light was that General Pete was concentrating on out flanking me and neglecting the mass of Iberian foot who just sat an watched for several turns.
Eventually the skirmishing ended and the pikes got stuck in. There was plenty of push and shove for a couple of turns but eventually my pikes began to win and broke through the center in several places. The Carthaginians were almost broken but by this time the Spanish infantry were getting stuck in and I was loosing badly on that flank.
My king charged his companions once, twice, three times into the Gaulic cavalry. They were a deep unit like my own and they were on the verge of collapse but I just couldn't break them. The Numidians in the woods had managed to Disrupt my second unit of heavy cavalry and I couldn't rally them.
The Spanish dished out more punishment on my left but I was still hanging on by the skin of my teeth. The Numidians hurled more javelins in the flank of my cavalry but they held on. A second round of Numidian darts flew from the woods and my proud heavy Macedonian cavalry broke and so did my army.
A great cheer went up! (Literally - We had a few onlookers by the end of the game and the final couple of turns were on a knifes edge.) Just like at Waterloo 2000 years later:
La Garde recule! Sauve qui peut! And the rest of the army faltered and broke.
This game was an absolute blast. We certainly got a lot of things wrong and missed many of the finer points. A reread of the rules will reveal plenty of mistakes but we got the basics down pretty quickly and we had a fantastic game that came down to the wire. The armies were big, there was plenty of colour, we both won and lost and buggered things up and it was great.
Flipping over the cards for the combat is great. It gives the game a real gritty feel. Not like rolling dice at all. Flipping a high card and slappin' it down felt great (especially towards the end).
I'm really looking forward to a re-match. Thanks very much to Pete and Robin who cheers us both on to victory (unfortunately I didn't get there. Bugger!)