I wanted to try another game of TTS and decided: Why not go big? So I did.
I made up two 200 point armies with a variety of troops with different tactical styles. I used the TTS OOB calculator but I can't help thinking I did something wrong because the Romans felt a bit under strength. However, it was really just another test game to see if I could get a better grasp of the rules.
I rolled a few dice to determine some random terrain and ended up with some high ground on the flanks and a couple of patches of rough ground. I ended up with a primarily flat open table. I set up both armies within three "boxes" of each table edge. The grid used for TTS makes up a number of "boxes" which are, in every way, what you'd expect with an old fashioned pre-hex, square grid board game.
As you can see below, I don't have a camp model for my Romans yet, so they got a WWII sandbag emplacement with a pair of folded cardboard tents (and a couple of Bren guns).
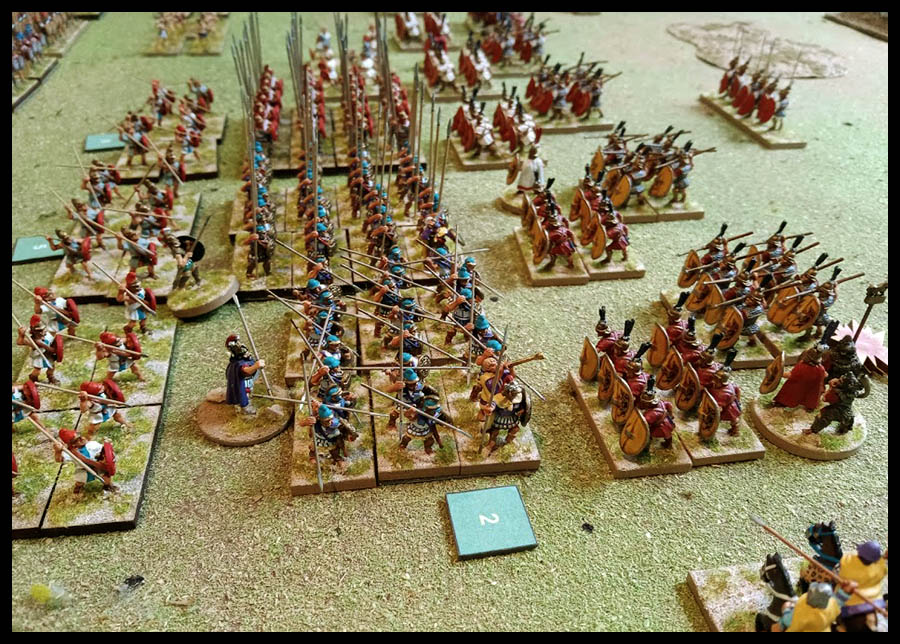
The Macedonians got the first turn. Initiative is determined by the force which out scouts the other. This out scouting actually comes into play prior to deployment. I just deployed both armies in a traditional deployment. The Romans had two Roman Legions in the center and a Latin legion on each flank. The Macedonians had their main strength on the right and their lesser units on the left. The Roman CiC was in the center and the Macedonian King on the right with his Companion Cavalry.
So the whole phalanx got moving and kept good formation. The cavalry moved up on the right and skirmishers pushed forward of the main host. The center skirmish line lagged behind the flanks.
This was going to prove to be an issue for the entire battle.
The Roman equites moved up and spread out. They managed to drive off some Greek light horse but couldn't catch them after they successfully evaded.
This is a pic of my little chits. As mentioned in my previous post they're far less intrusive than playing cards.
In this pic below you can see that each unit in the left hand (Latin) legion has a chit (or two). This was because the sub-general was unattached in order to ensure the cavalry got moving. The two legions commanded by the CiC has only one chit. This is because he used a
Group Move. This got the entire center moving with a single order. The velites were then given individual orders to move further forward.
The situation after the first turns.
As the troops closed the light troops started skirmishing. In my previous game I deployed them as 2 bases. This time, as you can see, I used 4 bases. Because you need to record missile ammunition, I decided that I would move a base back to depict 1 ammo used. When the second shot was spent I'd detach the second base a little bit. I was considering removing 1 base per shot and I might actually do that in the future.
As the infantry slowly advanced, a cavalry battle was taking place on the right. The Macedonians, led by the king, charged the Roman equites in an indecisive melee. The Romans, in turn, counter charged and the fight was once again indecisive. However. the Roman horse charged the Greek light cavalry, caught them and drove them from the field.
This opened the flank to the Romans. It was now a matter of trying to exploit the breakthrough.
After the second turns. The skirmish battle was heating up and both sides had taken casualties. At this stage the Romans had the upper hand due to the loss of the Greek light horse.
On the right the Macedonian King once again charged the Roman cavalry but failed to breakthrough. The second unit or Companions managed to turn but couldn't exploit their out flanking position. However it did mean that the Roman cavalry would have to work harder to get into the flank or rear of the phalanx.
Below is another pic of my expedient missile accounting practice. The javelin unit on the right has expended both of it's missiles and the one on the left has only expended one. A simple but effective accounting system.
Poor command (poor chit drawing) started to affect the center of the Macedonian phalanx and the center began to lag behind.
On the Roman right their light infantry (velites and Italian javelins) managed to push back their opponents with the help of a squadron of Tarentine light cavalry. On this flank the Macedonians has two units of Thessalonian light horse who were trying to get around some high ground on this flank. Most of the cavalry action on this flank was really a matter of threat and maneuver.
Back on the Roman left the equites charged the Macedonian King again and this time the Companions threw the Romans back in disorder. That wan't part of the plan. Not at all!
The other unit of equite got into a good position to get that "exploitation" happening and then pulled a #1 chit. Damn!
The infantry drew closer and closer. The King's Companions charged the Roman horse again and this time they broke and were driven from the filed. This allowed the Macedonian cavalry to advance onto the flank of the Roman
Legio S
inistris !
The King then managed to wheel his cavalry and even managed to charge again. The Romans, miraculously held on but became disordered in the process. This was not looking good at all.
To make matters worse, the
Agema Peltastai regiment now charged but the Roman's still held on.
This was followed by the rest of the Macedonian right hand command. The Roman's had the use of their pila, but they had no effect. However the legion held on under the onslaught.
Now, the Roman general had a mighty trick up his sleeve. With the destruction of the cavalry he escaped and fell back into the infantry where he ordered the famous "
Maniple Swap." This is a special type of Rally Test and is affected by troops in close proximity. So, instead of needing a 2 he needed a 4 (because of the troops in his front and flank. He drew a #2!
No bother - The General was in the box and he could redraw the chit!!!
And he drew a #1.
That meant the whole legion couldn't receive any orders for this turn. This was going to be bad.
In the center, the Roman CiC did the only thing he could. He charged!
Because he charged the legionaries had the opportunity to hit first with their pila, disorder the pike phalanx and then hit again in close combat. Unfortunately the tactic didn't work. Only one pike block took a hit and that wasn't going to be enough to make a difference.
On the Roman right the other Latin
Legio Dextra also failed to do anything at all (more really bad chit draws). The Agema again attacked and the legionaries held. The Peltast pikes attacked and disordered the units to their front. A second push and they routed them. The units either sided needed to take morale test but both came out okay.
The Agema pushed again and this time they hit hard.
The legionaries failed their armour save and so did the general with a pair of 1's coming out of the chit box. This saw the destruction of an entire legion but it was the loss of the general that put the icing on the cake and led to the whole army reaching break point.
In the end you can see that the destruction of the left and the inaction of the right has left the Roman center pretty much out flanked and surrounded. The equites got bogged down in an inconclusive melee with the second Companion Cavalry unit and ended up unable to exploit their breakthrough.
The right hand legion had more impact against the theurophoroi spearmen on the Macedonian left and the Tarentine cavalry could have got into their flank. But it would all be too little, too late.
~~~~~~~~~~~~~~~~~~~~~~~~~~~~~~~~~~~~~~~~~~~~~~~~~~
Conclusion:
I wanted to try a bigger battle and TTS really paid off. I really got the hang of the rules well before the battle was over. I took time out to stop once or twice to clarify the rules but all in all they flowed really well. I didn't play any favorites and played both sides the best I could. After all, both of these armies are mine and I want both of them to win.
Once or twice I made some silly mistakes but, as I played, I stated what I was going to do and, on those couple of times I stuffed it up I thought to myself: "Oh bugger. I should have done (X,Y,Z) first..." No bother - It's Fog of War (or fog of my brain cells). Mistakes are made and you just have to learn by them.
My basic little missile accounting system worked okay. No brain power needed and it kept the table free of excess tokens. Light units can only take one hit and then they are removed, so there is no worry about mistaking a displaced base for a "disorder" or anything. Also, I had thought of using d10's for combat but I like the chit drawing, although I think dice would be a better option with a real opponent.
Anyway, I thought this game was great and I really enjoyed it. The only thing missing was a real opponent.
So, now that I've got this out of my system I now need to try MEG again.


 A big cavalry/light infantry bash on the Roman left flank saw early success for Hannibal's men with one unit of Gauls standing up to repeated attacks. But in the end they were over come and the advantage went to Rome.
  The major Roman push was in the centre where the legions advanced. Hannibal on his elephant was routed and it stampeded through the Carthaginian lines causing havoc and opening up the centre.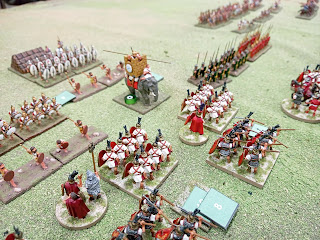


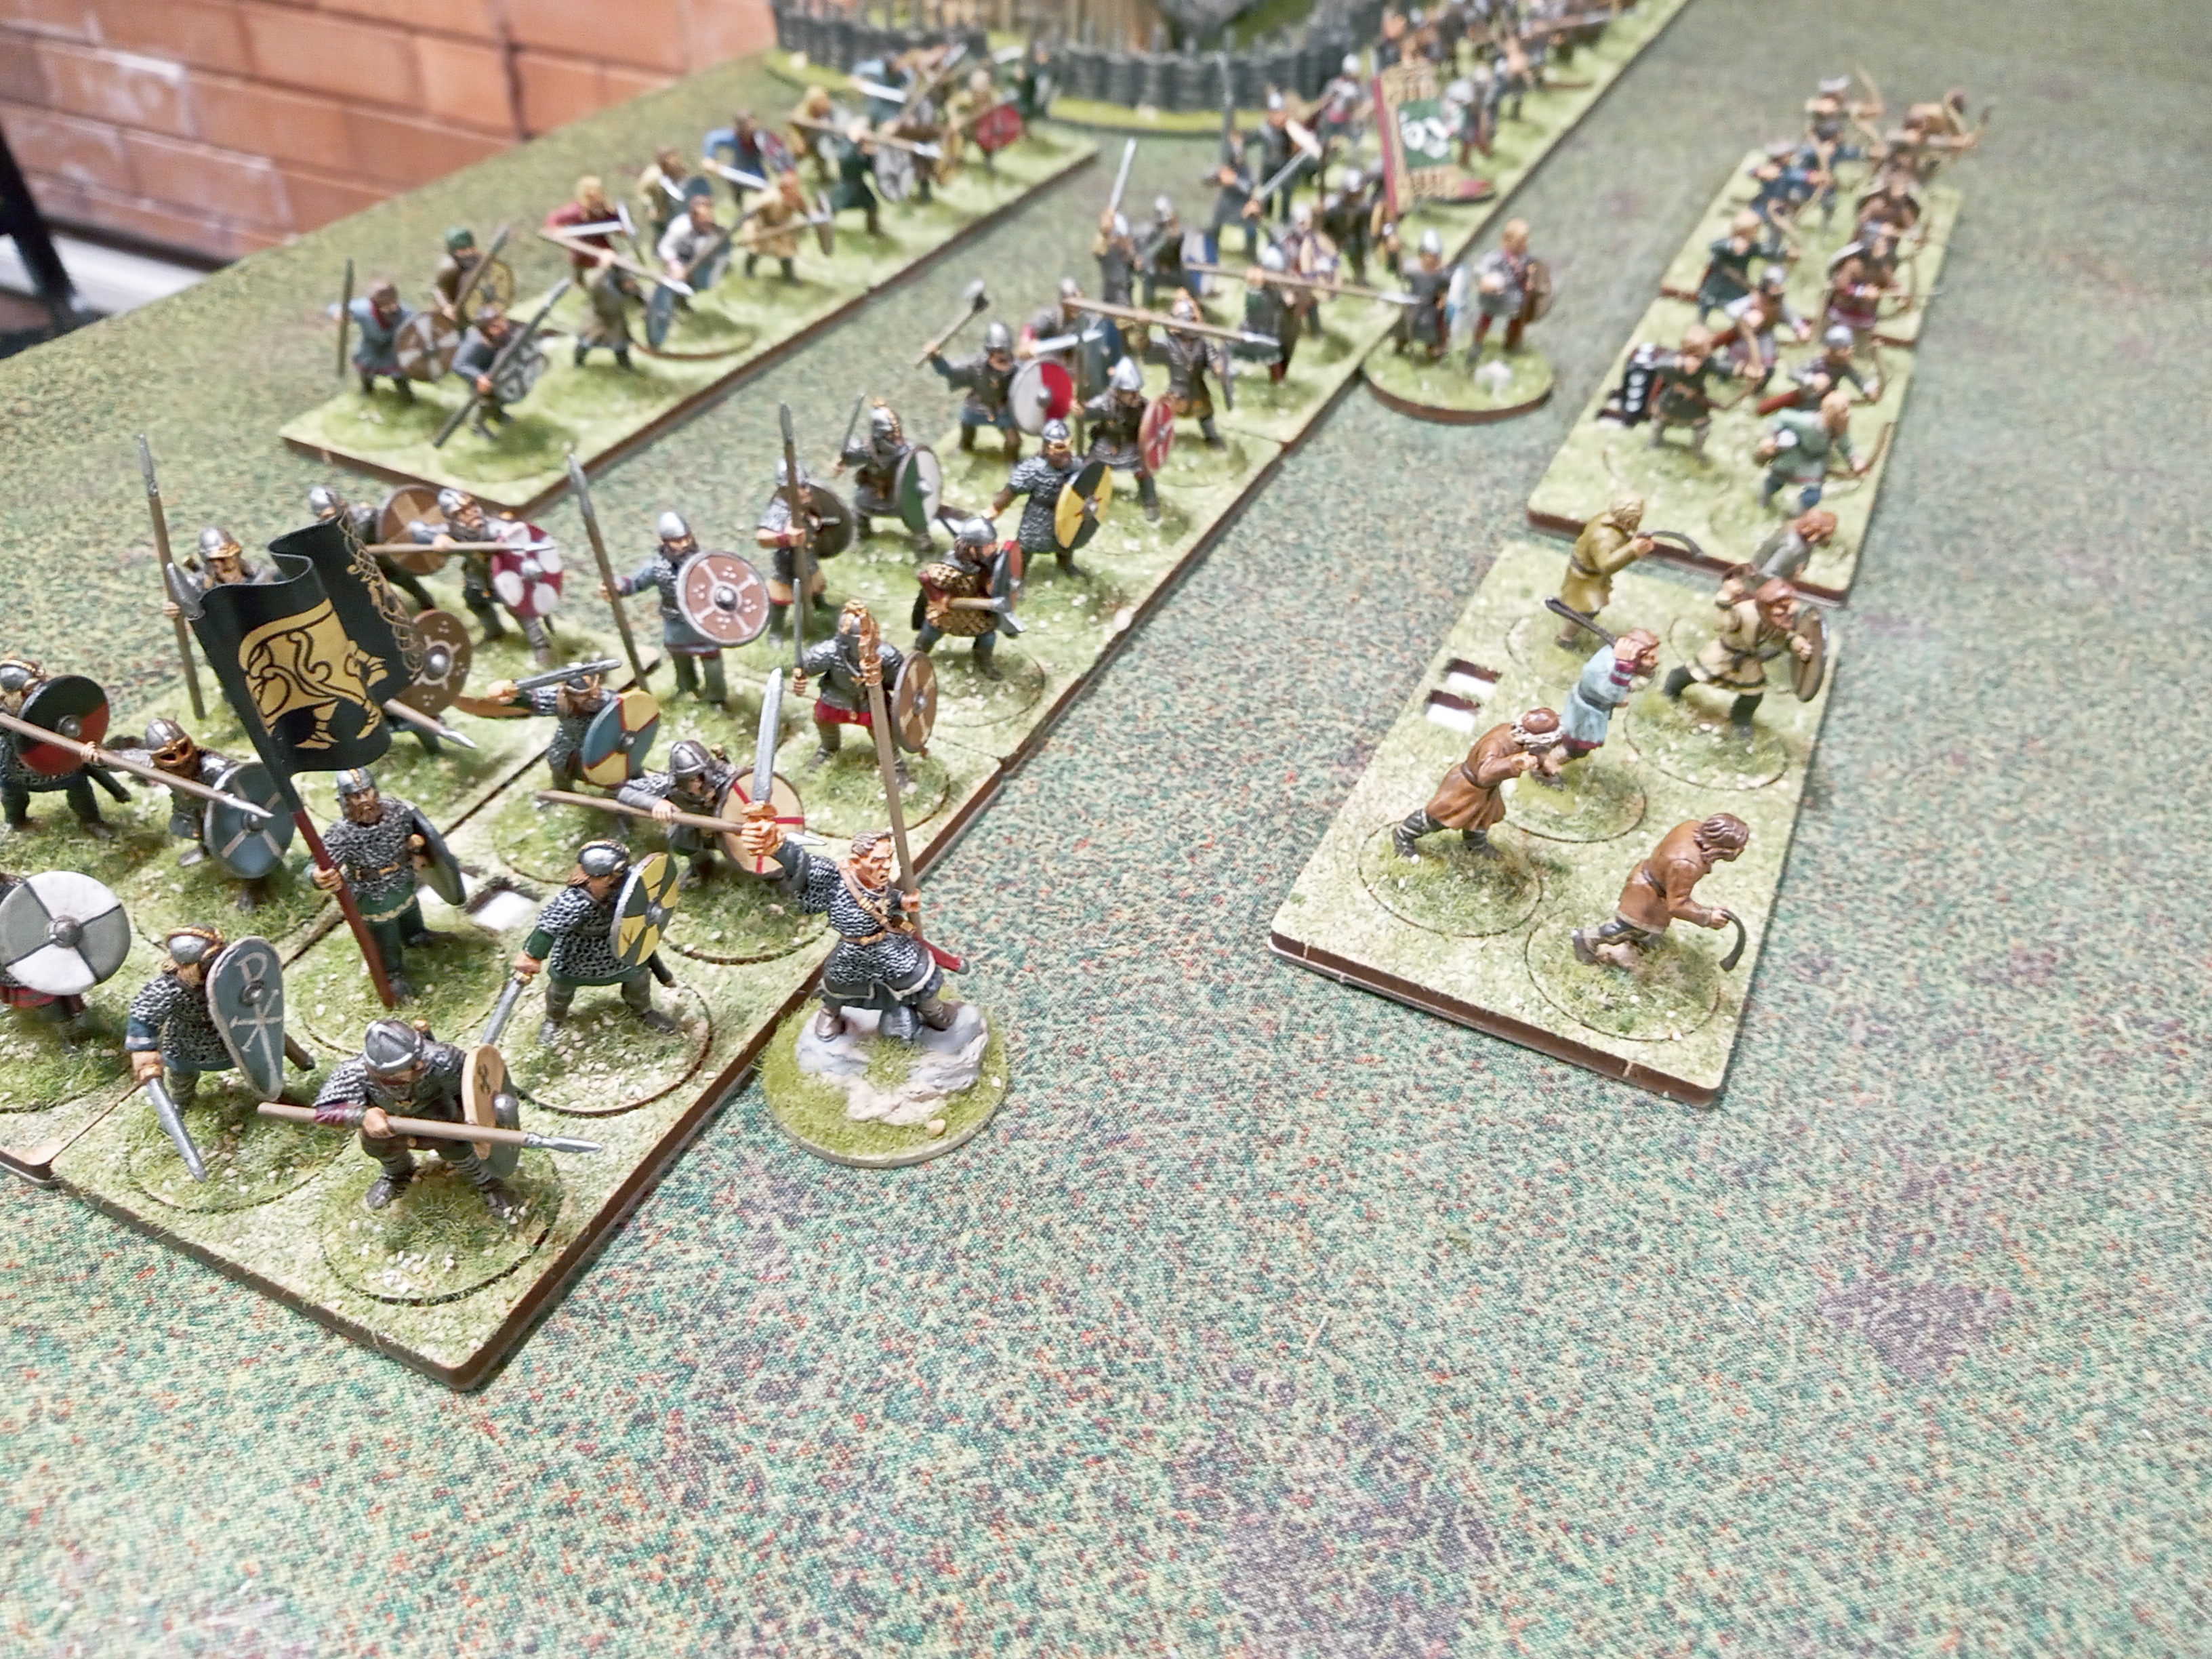
 My plan was simple: Send out skirmishers, hold back and make the enemy come to me with the hope that a long advance would break up their battle line. Lucky for Æthelguy, that this tactic paid off.


 Æthelguy also had some wild Irish allies in the form of light javelinmen. One unit advanced, hurled their javelins and got wiped out by group of mounted hauscarls. The second band of Irish faired batter by seeing off the horsemen. Unfortunately they got carried away and hurled themselves into the flank of some heavy infantry who routed the wild Paddies with ease.




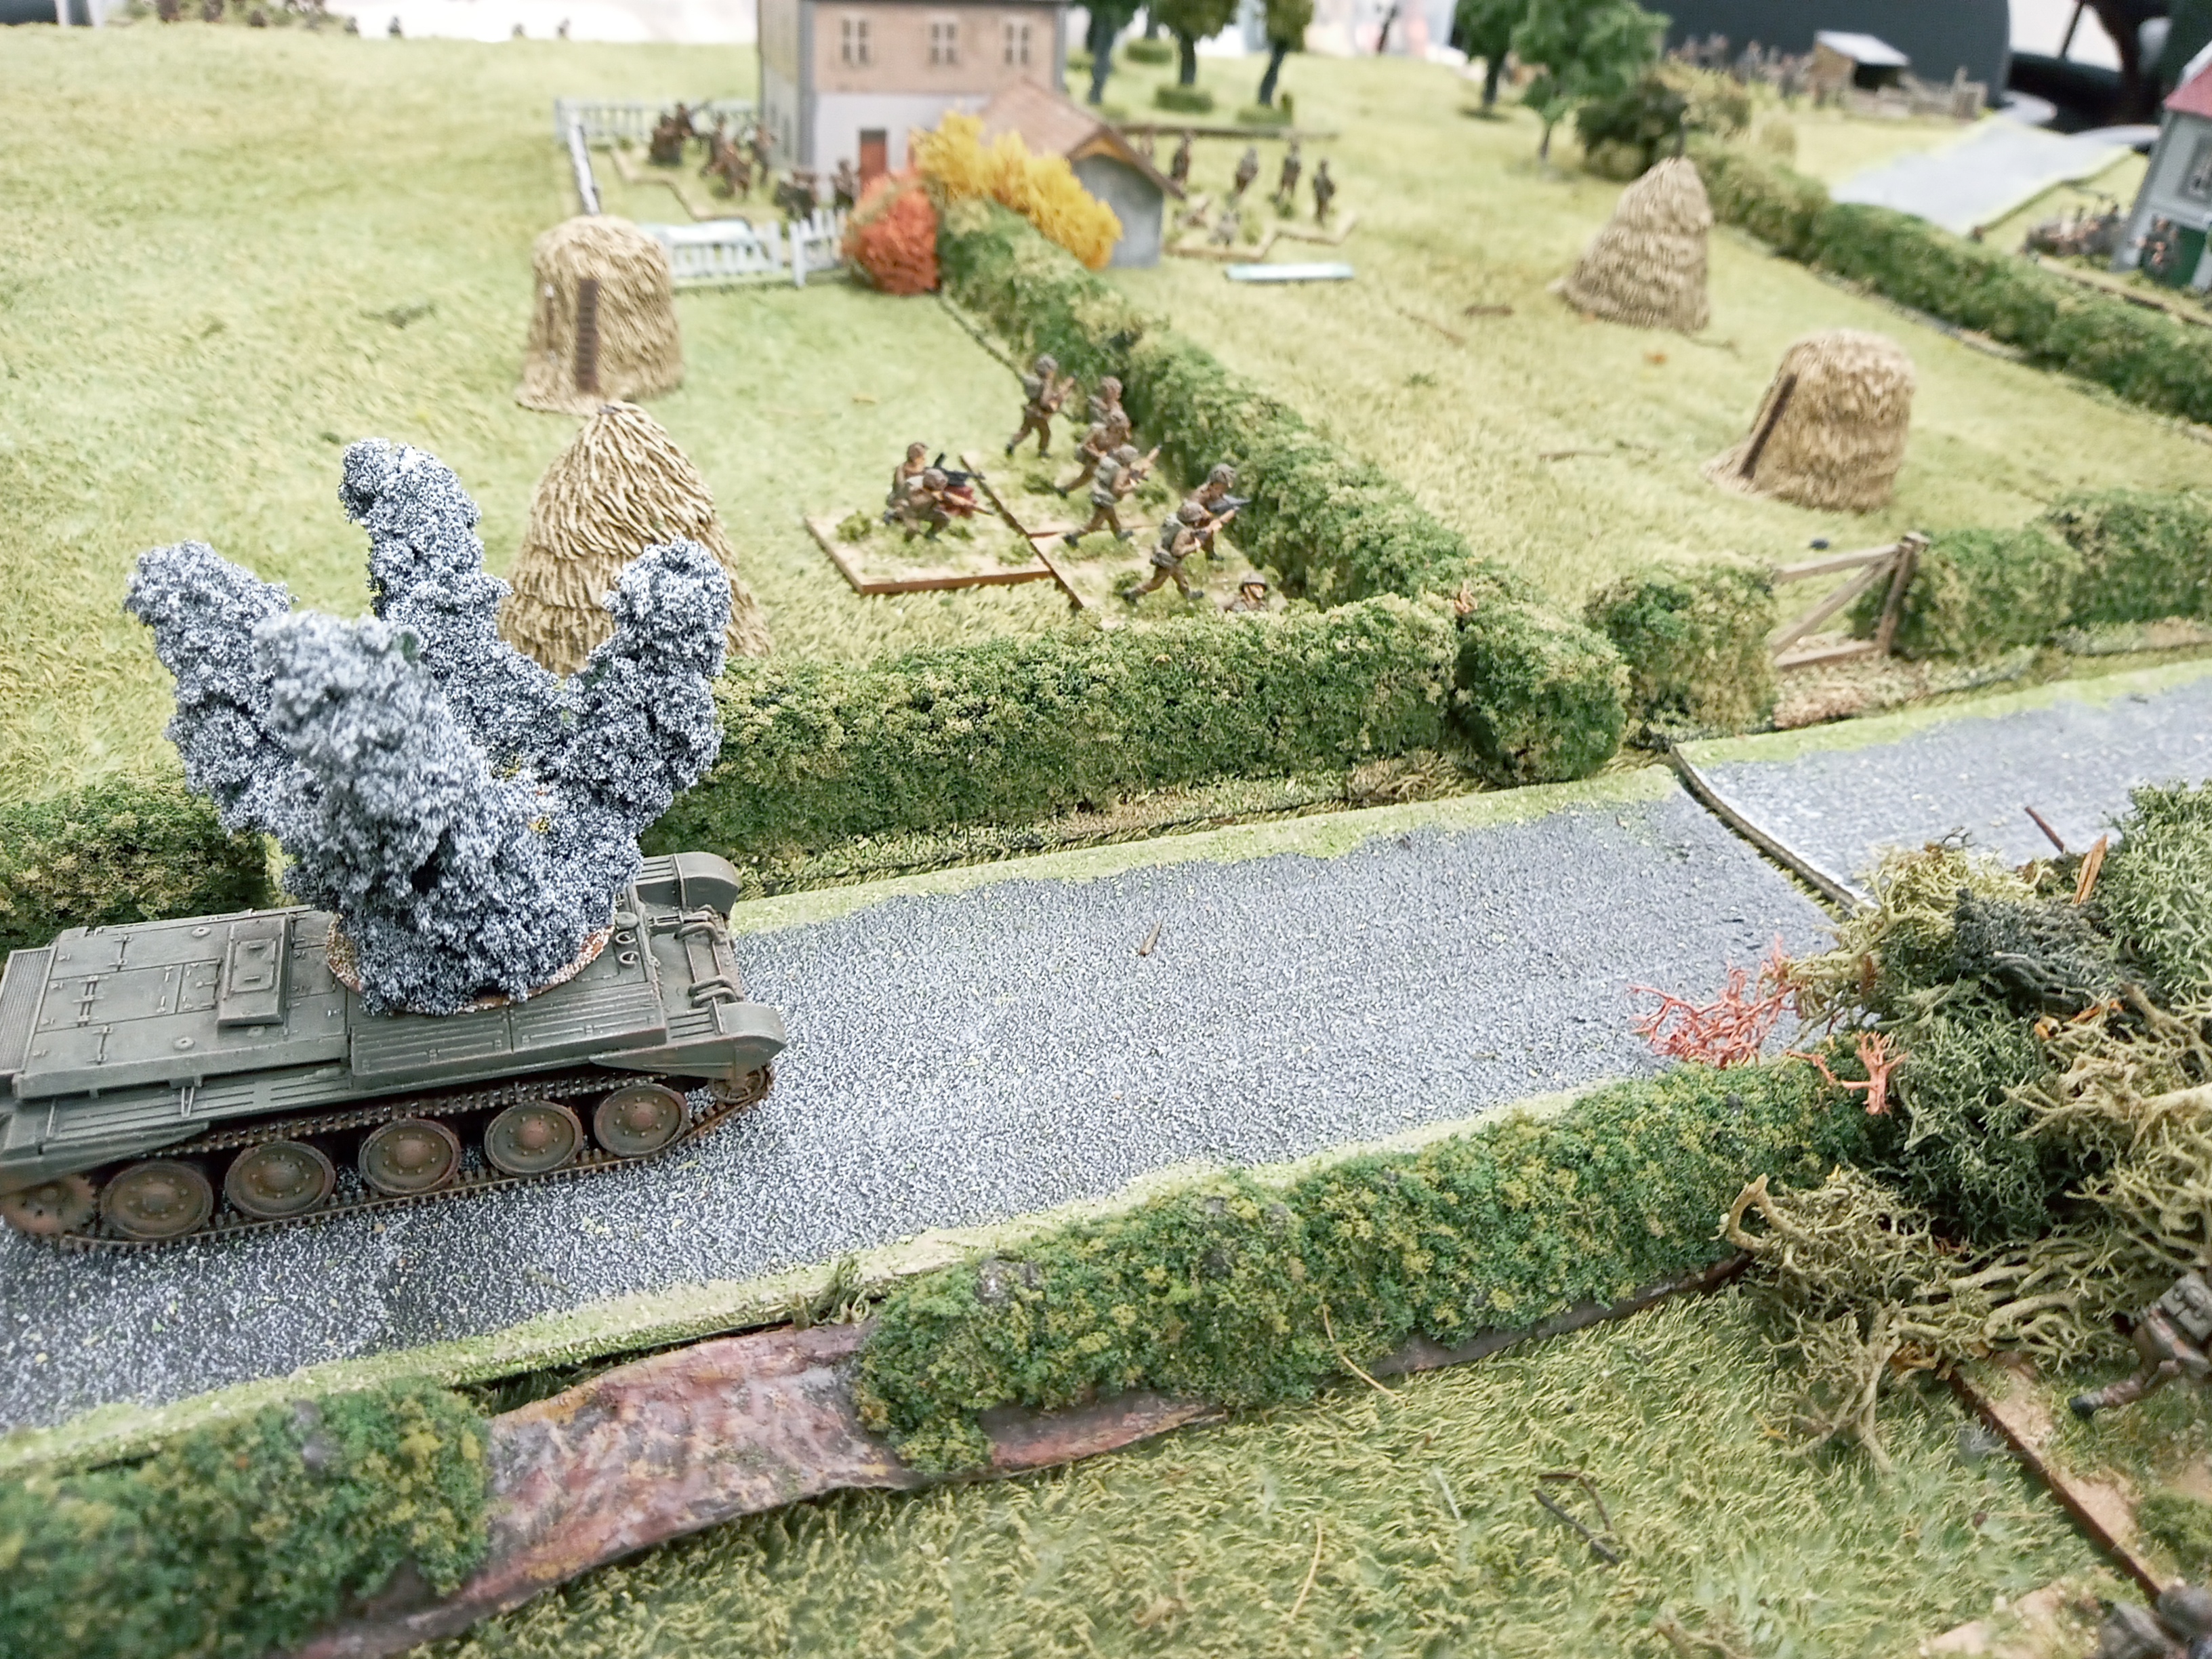
 A second Cromwell is hit but the British infantry keep up a steady advance.
 An assault on the farmhouse sees the Germans hurled back in disarray from their strong point.
 And that's all the photo's I took of that one. An artillery barrage and infantry fire took out the PAK40 and also damaged the Panther tank that came up behind it in support. A second armoured section that included a Firefly came into play and took out the Panther.