
The game saw a British mechanized infantry platoon meeting a panzer grenadier kampfgruppe as both sides decided to scout a hamlet somewhere in Normandy. Using an intricate random selection process (umm... left hand. Here you go!) I took over command of the kampfgruppe and Adrien, with a regulation cup of tea in hand, took command of the Brits.

The Recce Fight
The scenario starts with a small pre-battle fight. All reconnaissance elements are deployed - A d6 is rolled (we rolled 3). So for three turns the recce elements fight it out. The results can gain the players a bonus when rolling for initiative for the first proper turn.
German initial deployment - Sdkfz 250/9 and SdKfz 251 recce.

The British recce consisted of a Dingo Scout Car (in the distance) and an M5 Stuart.


The Battle
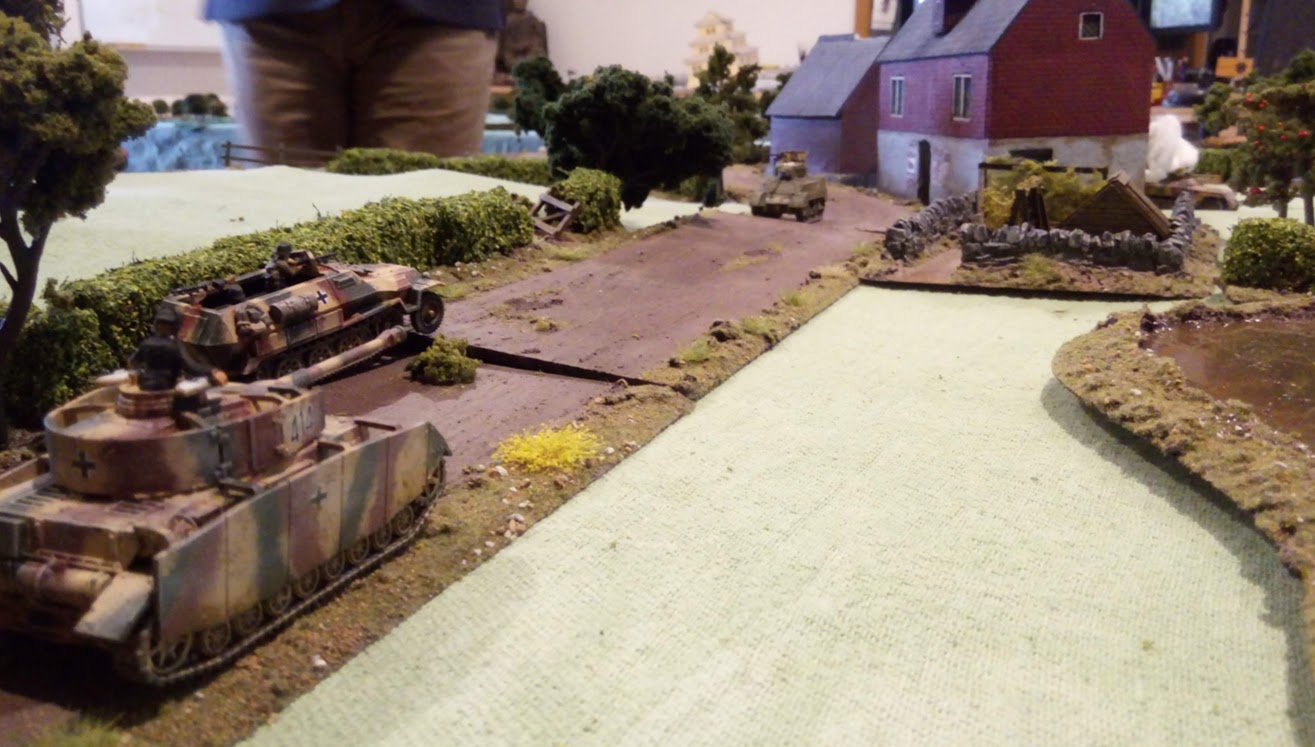
I brought on my reinforcements first and my first action was to bring on a Pz IV to blast that Stuart. There must have been a thick mist this close to the stream, because I couldn't see the M5 clearly enough to get a good shot in. A second panzer appeared and did have a clear shot. But it went wild and missed. I also brought on a Pz Grenadier section and a heavy MG42 crew.
With things getting hot the M5 pulled back but not before calling in another accurate mortar strike on my cramped troops. The effect was nasty: the halftrack crew abandoned their vehicle, the pz grenadier's truck was destroyed and the Pz IV pinned. Schweinhund!

I next brought on some more troops incuding my 3rd Pz IV. This was actually my platoon commander and showed why he was in charge by taking aim at the M5 and leaving it a burning wreck with a single shot.


In the center, I moved my remaining tanks up the main road being cautious because of the Firefly. This did attract attention from the tank killer which was on an Ambush Order. Lucky for my it failed to observe once and failed to score a hit a second time. My move caused the Cromwell on the road to redeploy closer to the center.
On my right my Pz IV moved in close out of a wheat field and blasted the Cromwell and sprayed the supporting infantry deployed behind a hedge with it's MG's. The Cromwell was destroyed and the infantry took 5 casualties. Deciding that discretion in the better part of valour they chose to fall back and to minimize their casualties.
Unfortunately, this attracted the attention of the Firefly which sent a round into my tank smashing it to flinders. Some newly deployed infantry in the center with a Vickers MG in support shot up my infantry support but they managed to use their cover effectively and took minimal casualties but they did get pinned. Ach du lieber!
I managed to bring my MG34's into play as well as my MG42. This resulted in pinning the Dingo, taking out and pinning some infantry including the Vickers.
On my center right my Pz IV's were in commanding positions but I failed to take into account a lone Bren Carrier in a field. This turned out to be a mistake as it was carrying a PIAT. These men moved up, deployed and took aim at one of my tanks which, with a great whoosh and a bang burst into flames. Getting cocky they then took aim at the rear of the next tank but (luckily for me) they missed.

Vas ist das?
KABOOM!

For a turn or two, my tanks had been trying to get a shot at the Firefly but kept failing to observe it. But now my single remaining tank got a clear shot, took aim and took it out with a single shot. With the same action it took aim again and destroyed the Dingo. Well done men.


The RAF Save the Day
Once again, misfortune struck the German attack. Even with the loss of a couple of tanks the situation was looking good for the Germans, but then a roar was heard in the skies above and a Typhoon swooped in and fired a salvo of rockets at the victorious Pz IV. The destruction of the Dingo resulted in Adrien pulling a chit and it was the Air Strike chit. He rolled for it at the start of his next turn and it appeared immediately. Eight rockets fired, two direct hits and the Pz IV was no more.


This pretty much ruined the ability of the Germans to continue. They were not broken and still had about a third of their Battle Rating remaining but the loss of all their armour put them immediately on the defensive.
At this point we called the game.
Final Result:
My infantry still held a fairly strong position in the buildings and could most likely have held off a British attack although they Brits could call in some strong artillery to try and pin them. In reality the Brits would either hold their positions or withdraw and call for more reinforcements. Game wise, the Typhoon was still on the table and armed with bombs which could easily take out my less well concealed infantry if we played a few more turns (but it was getting late).
Conclusion:
It was a good game. I like a lot of the rules and really have an affection for the importance and use of comms. Not all games have this and even though it's simple I like having them included.
One thing that I feel the rules lack is hidden movement. It's easy to say the Observation Rules cover this but they don't. It's too easy to react to something you can clearly see even if your troops are supposedly unable to see it.
We also decided to make our troops observe before taking speculative fire. Both Adrien and I are former soldiers and we know that troops don't just shoot up an area in the hope that something might be hiding there. Personally, I like the Two Fat Lardie's use of blinds and their rules mechanism for them. I'd like to House Rule them for use in Battlegroup.

A nice looking game with beautiful pictures!
ReplyDeleteIt was a great game.
DeleteLooking great!
ReplyDeleteThanks Michal. I can take credit for the troops but not the terrain. All the terrain was supplied by my opponent.
DeleteAll looking fantastic :)
Delete