
My opponent, this time was Tom. Like me, Tom had a very tenuous grasp of the rules. This was his first game and I've only played about 3 or 4 games over the past couple of years. The problem is that the games I've played are so far few and far between that it's difficult to retain very much of the rules (what with several other sets of rules all vying for space in my limited brain).
The Set Up
We decided that this would be a learning game and, if it turned out well we'll make sure to play more often so that we can really get a good grasp of the various nuances of the rules. It would be nice to play a limited campaign or something similar.

Motor Infantry Platoon - Cromwell Troop - Carrier Section and some supports.

Panzer Grenadier Platoon - StuG IIIG Battery and supports.
(I left the German trucks at home so they used captured vehicles.)


The view from the von Tomaz's perspective.


The scenario started with d6 turns of recce units trying to out maneuver and gain the edge on each other. We rolled 2 turns so after these see who had won the recce phase which would result in the loser drawing a Battle Rating chit (BR chit) and the winner adding their difference to the initiative dice roll.
Note: Some of the details of the game are a bit muddled. I'm writing this from memory after a long day, but the general gist of the game, the overall events and the final outcome are all pretty much accurate.
The Guards came on first with their two recce units, moving bravely into no-man's land intent on finding the enemy and destroying him.


By the end of the Recce Phase all of our units were still in good order. Von Tomaz's mounted recce patrol managed to sneak into the church and set up a good OP in the steeple. I tried to pin them with the scout car but I didn't have enough firepower. On the other side of the churchyard my White Scout Car did manage to pin the Gerry SdKfz 251 with their .50 cal MG.
After the recce my lovely brave boyo's got the initiative and started to push onto the field. We rolled 1d6 each turn to determine reinforcements.


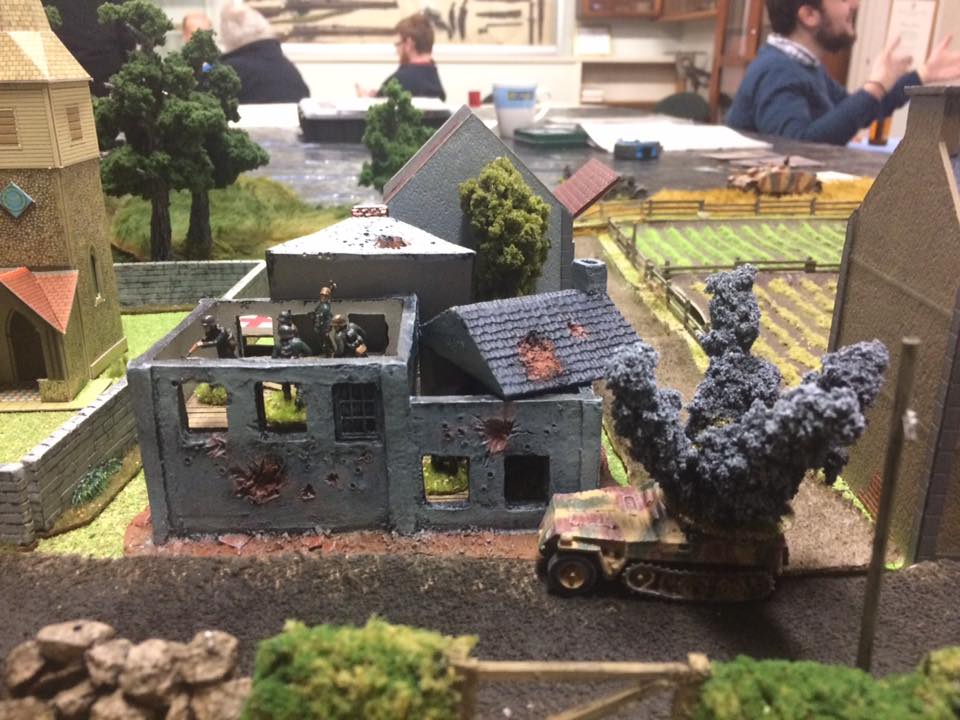
Then we started to see the Hun moving around in the distance. They came up from behind the town and started investing the buildings and surrounding hedges.


The commander adjusted his sights.
"Eine little bit to zee right, Gunther.

"Back eine little bit to the zee left..."

Feuer!
Ka-Boom!!

Then the StuG on the main road took aim at that Cromwell that had one chance... Well it never got a second chance.


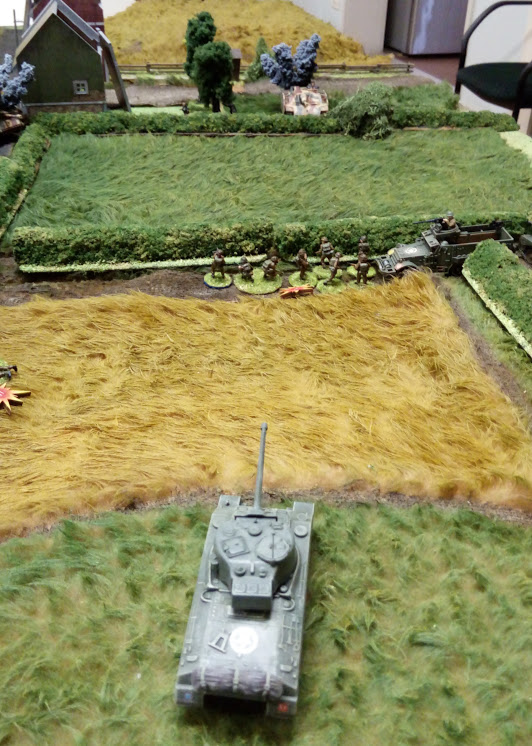
One thing that I did have in my favour was that I had moved up a second Cromwell to support my infantry on the right. It managed to get into position behind a hedgerow where I put it onto Ambush Fire with a StuG directly to it's front.
I also brought up a Firefly on the main road. It has no HE but it did use it's MG well and dislodged the German OP in the church steeple.

More movement. More fire from my halftracks. I managed to kill an MG34 team (in the building on the left in the above pic). I also managed to pin a rifle team behind the hedge. This was good and at the end of the turn I pulled another BR chit to rally my infantry. It was time to assault the bloody Hun!
I missed everything and then the StuG took notice and brought it's gun to bear on the little scout car. When damage was rolled Tom needed a 3 on 2d6. He rolled box cars.


Then the StuG on the main road stuck it nose around the corner into the field of fire of my Cromwell on Ambush Fire. So, Sgt Jones took the bait. Took aim and FIRED!


Good shooting Sgt Jones.

While all of this tank fighting was going on the infantry were getting stuck in. My PIAT team had moved up in the center and had been shot to bits by MG34's. The platoons own PIAT team had moved up with a section on the left and taken on an SdKfz 251 but couldn't get a hit and they too paid the price.
The section in the pic below were supposed to assault the pinned German section in the opposite hedge but they decided to stay put (failed their Experience Test) and became pinned again as a result.
After shooting the StuG on the road his friend beyond the hedge moved up and took out the Cromwell. Luckily revenge was on it's way in the guise of a Firefly. The big 17pd'r roared and the StuG brewed up.

Bren team v's MG34's. Not a very even match up.
First: the last remaining StuG fired HE at them. Three direct hits. Three saves.
Second: MG34 fired - One kill - Moral Roll - Beyond the Call of Duty. They shot back and reduced the German MG team to 1 man. Second shot missed the bren team.
Third: A second MG34 fired - One kill - Moral Roll - Beyond the Call of Duty. They shot back and reduced the German MG team to 1 man. Second shot missed the bren team.
Eventually a HMG team got the last Bren Gunner - Pte No: 6, Evans.
Four hits and he only managed to make one save.
This all happened in the area of the innocuous little pic below. It was very close quarters. And I did not manage to capture the aid post.


By this time it was getting late and my men couldn't go on. They were pretty much spent so it was time to withdraw and regroup. Von Tomaz's men weren't in much better shape. But the squareheads held two of the objectives and I held one. So it was a hard won victory to Tom.
Ymladd yn dda!
(Well fought!)
~~~~~~~~~~~~~~~~~~~~~~~~~~~~~~~~~~~~~~
Conclusion:
This was a great game. We started off a bit slow because we were uncertain about the rules. As mentioned above, I'd played a few games but not nearly enough to be competent with the game. But we picked it up pretty well and the turns started to move along pretty well. What we both need to do is read through the rules as an after battle exercise and find all the bits that we got wrong.
As with any rules, more games will mean a better understanding. The game played really well. It was a good hearted game thanks to my opponent, Tom. There was enough tension to keep things exciting and enough toys to keep things interesting with plenty of command options available. Plenty of laughs and silly voices also made the game a lot of fun.
And before I go I must say: The much prayed for Typhoon never did arrive to save the day.
Bloody RAF!
~~~~~~~~~~~~~~~~~~~~~~~~~~~~~~~~~~~~~~
A quick edit:
Russel from Nunawading Wargames Association posted some pics on the NWA facebook page. So I stole some of them and here they are:


Ah! What a great battle! Thanks for a report!
ReplyDeleteThanks Michal. It was a great game. I lost again but I really enjoyed it and that was the most important thing.
Delete