Saturday 29 December 2018

Preparing for the Siege ~ pt2

I've been wracking my brain to figure a way to make nice, cheap and effective city walls. I looked at the Little Wars TV city walls, checked out the Roman Sea's paper terrain, asked a few friends with laser cutters and 3d printers to have a go, but, all in all, I've not really made any progress.

So, yesterday I decided to get onto Photoshop and see what I could come up with. I made a halfhearted effort a couple of weeks back with no real results so I went back to those files and started again and this is what I came up with:
I found a nice sandstone texture ~ the real colour is more sandy than the pics show. I then made some basic "digital stencils" and shoved the texture on another layer behind so that I ended up with a basic crenelated wall. I then added the decorative red lines. They have a 3d shading effect which is more evident on the real thing. I then added lines for cutting & scoring guides.

I then made a walkway to fix behind the wall so that I can mount 20mm deep defensive bases on them. The wall is in two parts with the front wall glued onto a box created by the folded walkway section. I made the bastions the same way and added some arrow slits and doors.

The walls are 35mm x 100mm and the bastions are 43mm x 37mm and they fit very nicely with the Irregular Miniatures siege engines. The bastions are large enough to house a 35x35mm base on top.

 Rear view with doors.

I also added a little bit of detail on the tops to make them look like uneven stone.

I printed these on A4 artist's watercolour paper. This stuff is nice and thick and gives the pieces some strength. It also has a rougher texture than regular paper which adds to the overall effect. The folded down crenelated area also adds some strength. Each sheet of paper gives me either two full wall sections or three bastions.

So, all in all, these are cheap and easy to make. It took me about half an hour to put this lot together and with more experience (and a bit of adjustment to the digital files) I should be able to pump the pieces out pretty quickly. If needs be, I can also insert some pieces of card to strengthen them even further.

Now I need to work on a gate house!


Friday 28 December 2018

A Late Delivery Arrived

Just a quick post to put up a pic of the figures I've been waiting for (for a while). They got here a couple of days back so I decided to paint up some of them to see how they look.

These guys are from Rapier miniatures and they're pretty nice figures.
These are hoplites. I shortened the their spears but I don't think I'll do that with the rest of them. I'm not very keen on their helmets. I'd rather a Corinthian or Chalcidian helmet or something more traditional that clearly identifies them as hoplites. I need plumes! ~ I got's to have plumes! The officer and command group have Corinthian's with plumes (and they look great) so why not the troops?

Irregular Miniatures (L) & Rapier Miniatures (R)
As mentioned by Thomo the Lost in the comments of my last post, I can see why they won't work very well with the Irregular Miniatures that I've already done. These figures look to be about 8mm and their thick bases don't help (2mm is a 33% increase in 6mm). But, as it were, I bought the IM figures to test my ability to paint tinyness and I now have a bunch of these Rapier figures and a large order from Baccus on the way. So this will be the scale that I'll continue working in.

Tuesday 25 December 2018

Preparing for The Siege - pt 1

I did a few more things for my Siege of Rhodes game. A bit more of the Irregular Miniatures stuff that I got before Christmas. I'm really looking forward to getting my order from Baccus. The IM stuff looks okay and I like the mass effect on the little bases but I've heard that Baccus are better and I'm really looking forward to painting them.

These look really nice. I'm not connoisseur of 6mm, I think that the IM equipment etc, far exceeds the quality of their actual figures.

Here are a pair of siege towers that have come out looking pretty nice in my opinion. I also did a Test-ladder. It looks a bit odd but it sort of conveys the right effect. I also need to make the Helepolis - Demetrius' massive siege tower that gained him the name Poliorcetes (The Besieger). The two below are 60mm tall... The Helepolis needs to be 120mm tall x 60mm wide!


And some archers. This is another test for basing. The open order on a larger base for the attacking Antigonids and the close order on a smaller base for the Rhodian defenders (20mm deep base so I can fit them on the wall).
That's all for now.

Sunday 16 December 2018

My 2019 Project - Siege of Rhodes 305BC

I've decided on my project for 2019 and settled on the Siege of Rhodes 304 / 305 BC.

This came about because I saw the Little Wars TV video of their 
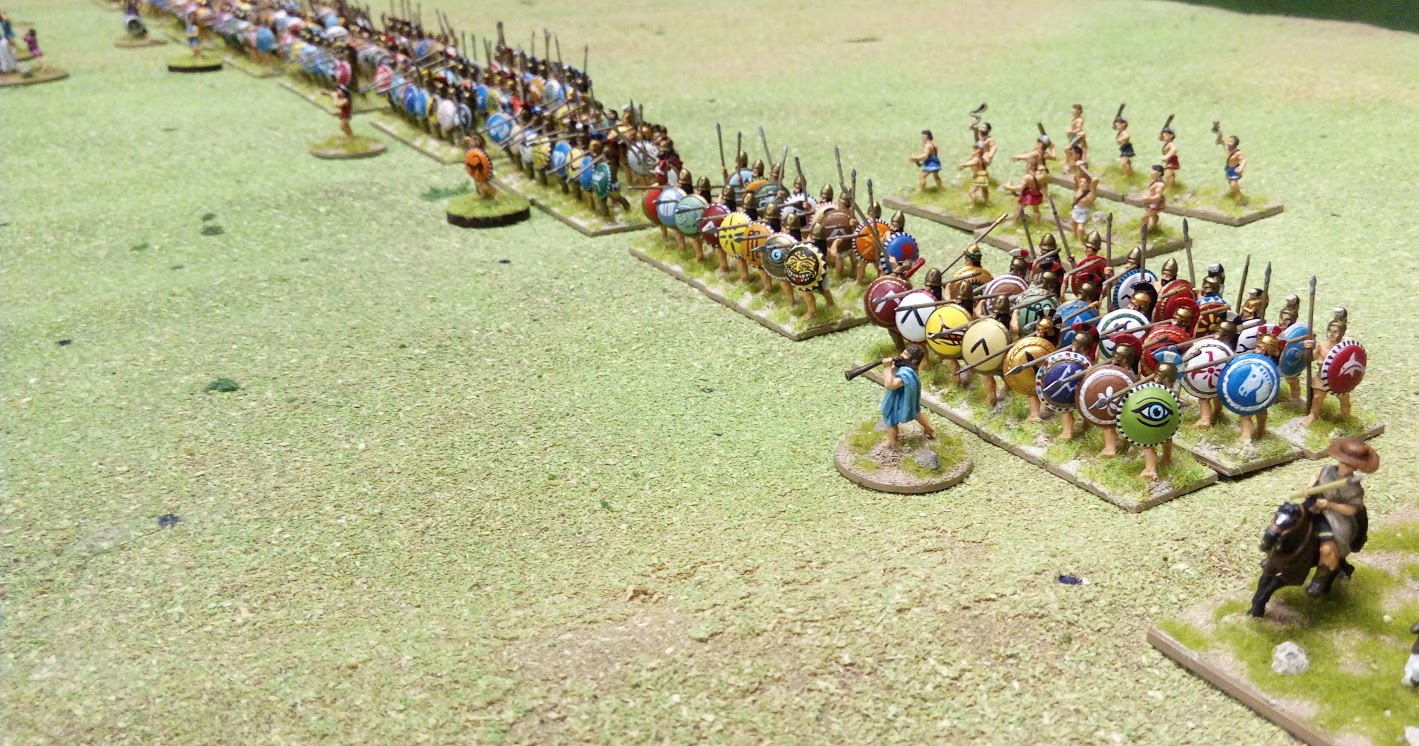
Siege of Carthage on You Tube, which caught my interest. So, I got a digital copy of their rules Age of Hannibal which I had printed and took with me on a weekend away for a bit of reading.

Age of Hannibal includes a very workable, quick play set of siege rules and that got me thinking...

I could do a siege game for Little Wars Melbourne 2019 (no relation the the You Tube channel) and also put it on for my club's open day. But which siege?

In the video they use some ancient galleys for a landing... Hmmm... I have little ancient galleys. They also use 6mm figures. I don't have any of those. All my ancients are 15mm.

So I set out to get some 6mm. I ordered some in October from a company which I won't name - Because I still haven't got them yet!!! (mid December). I also put in an order from Baccus last week but I don't expect them to arrive until after Christmas or early in the new year.

However, I visited to Eureka yesterday and bought some Irregular 6mm because I'm keen to try my hand at painting them. Nic at Eureka also pointed out their siege engines and ladders, so I got some of those too.

Here's my first try at painting 6mm. The first unit I painted are the red heavy infantry. They were a challenge and I really had to force myself away from detail and that's not as easy as it sounds when you're use to painting detailed 15's & 28's. But that unit only took one evening of painting. The second lot (theurophoroi) I knocked over this afternoon.

My first 6mm test on 50mm x 40mm bases.
And this evening I did some siege engines. This scale really is easy and fast to paint.

As for the naval aspect, I intend to use my 1:1200 scale ancient galleys. The scale is off compared to 6mm but with the land part of the battle on one end of the table and the naval aspect at the other I'm hoping for a forced perspective type of effect with the ships basically acting as counters (in a 3d ship type of way).

But I'll have to get my hands on some more ships to create a siege tower mounted on a pair of roped together, triremes.

I've also been scouring the internet for a detailed map of Ancient Rhodes. That's not an easy task and the best I've come up with so far are these:
This one is a screen shot from a you tube video about the siege by Kings & Generals
I like this painting. Sorry I don't remember where I got this from.
It looks more like the Medieval city but gives a good general idea for the harbour.

As for the city walls. I've looked at various possibilities and spoken with several people. I bought a pdf of paper walls but I'd prefer something more substantial. I could make them myself but that would mean casting them and I don't really want to do that. Or I could make them from balsa wood and cork. I don't really want to do that either. I've been speaking to Mike Parker at Battlefield Accessories about making them out of mdf but I'll have to see about that after Christmas.

During a Google image search I saw this website . This is the sort of effect I'd like to achieve.

Anyway, that's my plan. I'll keep posting updates as I go.

Sunday 2 December 2018

Gratuitous Phalanx Photos

I don't have anything new But I decided that while I had a table and my newly marked out mat set up, that I'd set up my Hellenic troops for a photo shoot.

I wanted to see how they will work for To The Strongest as I really like the look of these rules and intend to get playing them as soon as possible.

Greeks first ~ After re-basing these guys I wasn't sure how big their phalanx is. It was good to set them out to see how they looked. I'm not sure I like the multitude of 20x40mm bases. I might glue some of them together to form 40x40's.

Spartans on the right as deep formations. Armoured hoplites in the center. Poorer hoplites (unarmoured) on the left. The armoured hoplites are also in deep formations but can be deployed as regular and the line extended. They also have Greek and Thracian peltasts and slingers. I can also add Cretan archers (see below). The cavalry element is pretty small. I have heavy Greek and Thessalonian light horse.
 "Spartans! Tonight we dine in Heck!!!"


The Macedonian phalanx in much larger because it also includes the armoured hoplites as Greek mercenaries (no Spartans though). I still need to finish one more syntagma of pike and maybe another one of agema pike.

The phalanx also has three units of theurophoroi in deep formation but if I mix some units I could have 4 of them as regular sized units. There are also two regular units of Thracian foot. I think I might add to these to make them deep warband units. The Greek mercenary hoplites are at the back. And of course, as should be expected in any Successor army there are a some elephants with light infantry support. I like more elephants.

For skirmishers I have light infantry with javelins, two units of Cretan archers, Macedonian archers, and, as above, the slingers and Thracian peltasts (this time as a deep unit).

Cavalry is much stronger with two units of companions, a unit that can double as Thessalonian light cav or Prodromoi. There's also the allied Greek cav.

Having set this up I can see I need more for generals and some individual figures to represent Heroes, etc... And again, I'm not keen on the multitude of 20x40mm bases.


 Agema.

 The LBM Studio decals really bring them to life.
 Theurophoroi
 Thracian's on the flank.
 Companion Cavalry and General.

~~~~~~~~~~~~~~~~~~~~~~~~~~~~~~~~~~~~~~~~~~~~~~~~~~~

Well that it. There are a lot of them but, like any wargamer worth their salt, I want more. The Greeks are 99% AB miniatures and the Macedonians are 99% Xyston. The Greek shields are all hand painted and the Macedonian shields are decals from Little Big Man Studios.

The single figures will be used to represent markers and tokens. In To The Strongest you can attach Heroes to units for a one off re-roll so the fighty looking guys will represent those brave fellows.


Friday 30 November 2018

Mat Work for To The Strongest

I took out my grassland gaming mat and decided to mark out a grid for To The Strongest.

I made this mat in 2016 for a 950 year anniversary game of the Battle of Hastings. It's made of a sheet of canvass with a covering of brown caulk and a load of home-made flock. It's pretty durable and quite nice.

I marked out the grid using a long piece of timber with 100mm intervals marked on it. The timber itself is also 100mm wide so it was just a matter of lining it up making a dot on the mat then lining up the timber over and over again. I used a blue sharpie for the dot.

I decided on a 100mm grid because my Macedonian pike units are 80mm wide as are most of my other ancient units. Also my Romans (after basing, re-basing and re-basing again) are now back to 4 figures on a 40mm base because of the mechanics of To The Strongest this will allow me to deploy them in a proper triplex acies formation. I couldn't turn up that opportunity!

I'm pretty happy with the result. The grid can be easily identified but it's very unobtrusive. Other little bits of flock that have stuck to the mat over time help to break up the grid pattern.

Surprisingly the grid is much clearer in these pics than in real life.


Monday 19 November 2018

2nd Legion Started

After a short wait the figures for my second Roman Legion arrived. I took pains to decide on a colour scheme and settled on the one below. I like the shields but I'm not totally happy with the madder coloured tunics. It actually looks okay on the principes but is a bit over powering on the hastati. But I made my choice and I'm going to stick with it.

I also got a general. I already had the other figures on the general's base in my stash of gifted figures.

For better or worse... Here they are:
All figures are Xyston with decals from Little Big Men Studio


Tuesday 6 November 2018

Equites & Socii

I did the equites to round off my tiny Roman Legion and started on some Italian allies.

The cavalry were enjoyable to paint and I think they look great. I was going to do just these four bases for my entire Roman cavalry but I might do another four bases to go with my second legion. The figures are, once again, from Xyston.

The Socii (Italian Allies) are actually Xyston Oscans. I had these sitting around amongst a bunch of 15mm figures that I was given a few years back. I was going to do Iberians as allies but decided to save some money and commit to Italians instead. I have more on order - heavy/medium infantry & cavalry - to go with these guys.

I'm not really sure if these should be light infantry or what, but I decided to make them light. I have enough to make another two bases but decided to keep them at the same strength as the Roman velite that I've already done. They were nice and easy to paint.

As far as these socii are concerned, I have no idea how they should look or how to paint them. I think that their helmets and shields may be wrong for the era so I decided to make their shields look a bit more plane & uniform to make them seem more organised. I'm really quite confused about them because I'm finding it hard to find any decent pictorial references. Should I just use Roman figures for Italians?

If nothing else: I can always put them alongside some phalangites and hoplites as part of a Pyrrhic army.

Anyway, here they are: