Cue the music...
It has taken me a while to get back to my rebasing project and this time it's The Army of Forest Folk. The reason for taking so long is not that this was a difficult task but the fact that I've lost a huge amount of enthusiasm for wargaming. I no longer have a club that I like to attend and, as a result, I have no real need to create vast armies. Having said that I will start playing solo games as soon as the weather cools down and the heat in my upstairs hobby room becomes tolerable.


This is an unusual army and it's made up of figures from all over which I'll detail as we go. The army is very colourful and looks spectacular in the flesh. It has a lot of light troops in the form of fauns and centaurs. But it also has a tough core of Tree-Folk and some other big hitting creatures. I don't know how effective it will be in battle but they look impressive.
 The centaurs are from Eureka Miniatures. I modified a few of these sculpts for Eureka a few years back in order to expand the range. I can't remember which ones except for the king with the laurel crown. The unicorn is a Reaper Bones figure. I have two bases of mounted skirmish archers and three bases of heavy riders lead by the centaur king.


I'm a bit confused as to the generalship of this army. I've included a troll as the army commander here, but I think this will change and he'll become a champion or maybe another big-hitter troll. Same with Luna the Moon Ogress. I was going to use her as the army's spell caster but I think I found a better option after I finished taking the pics. I have another army that I think she would be better suited to. The troll is from Reaper Bones and the ogress is another from Eureka Miniatures.
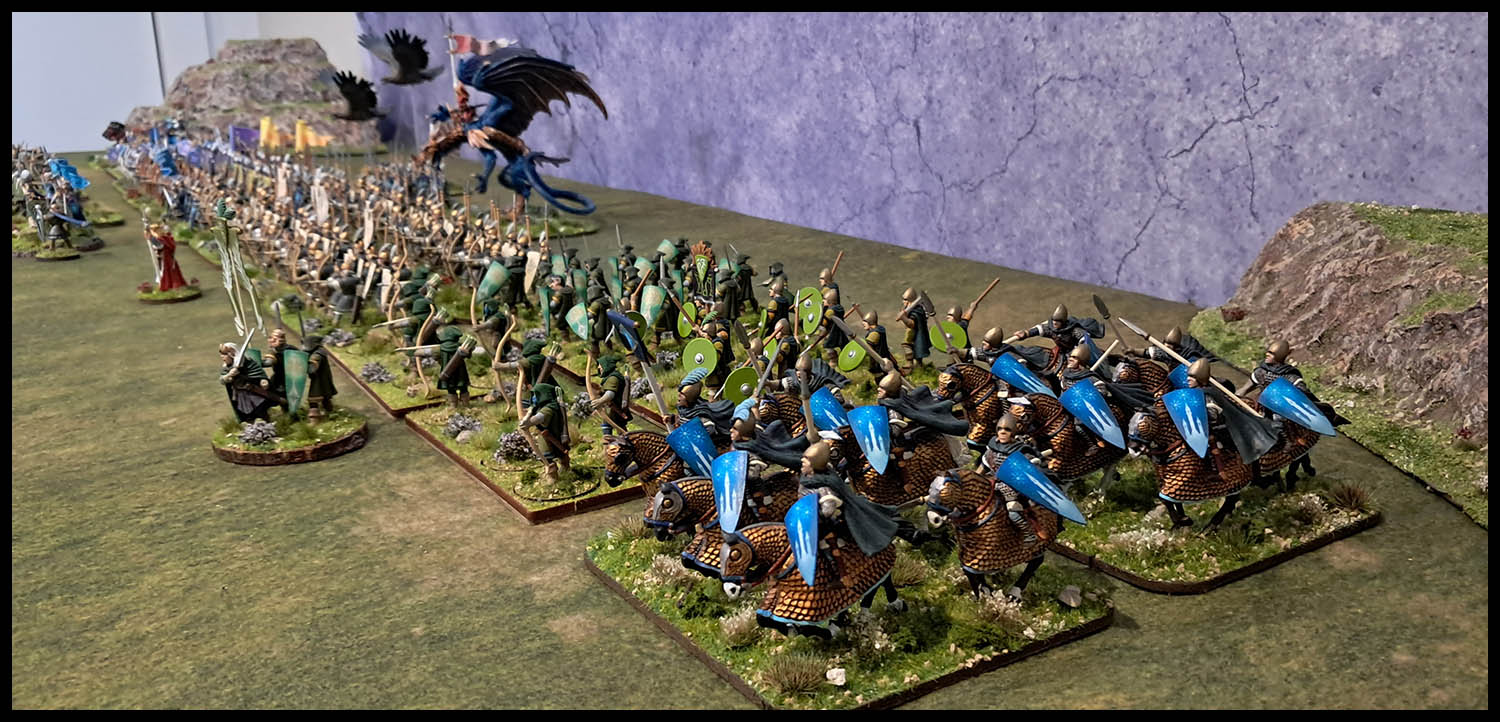
Okay... Starting on the left in the centaur cavalry. This wing is made up of light skirmisher riders and heavy rider cavalry. Although, as heavy cavalry they lack armour, I thought that being half horse, centaurs would have a better, natural, agility than riders and this could account for their prowess as "mounted" warriors. I added a unicorn as a champion/hero but I think I'll change that and try to find a better option.


Here's the first of the big hitters - A mountain troll. He's big and if you look at the photo above you see how he towers over the centaurs. I like this figure. He looks tough and grumpy.


The Treefolk ~ These make up the heavy infantry core of the army. They are made up of GW Dryads, and Treekin from Mantic's, Kings of War range. Both sets of figures are fantastic. The dryads are one GW's best kits as far as I'm concerned. I saw a painting tutorial on youtube on how to paint the dryads to resemble Japanese cherry blossoms. I liked it; so that's what I did. The dryads will be heavy warriors with some traits to toughen them up. The treekin will be an elite type of unit so I want them to be very tough.


Here's another of my favourite models: The Jabberwock! It's another Reaper Bones figure and I think it looks fantastic. This was a difficult figure to do and it required special treatment (click here to see what was needed to put this figure together). Okay... now that I've said all that, I might remove this figure from this army. I think it fits well but I now have a better idea of where it will fit in even better.


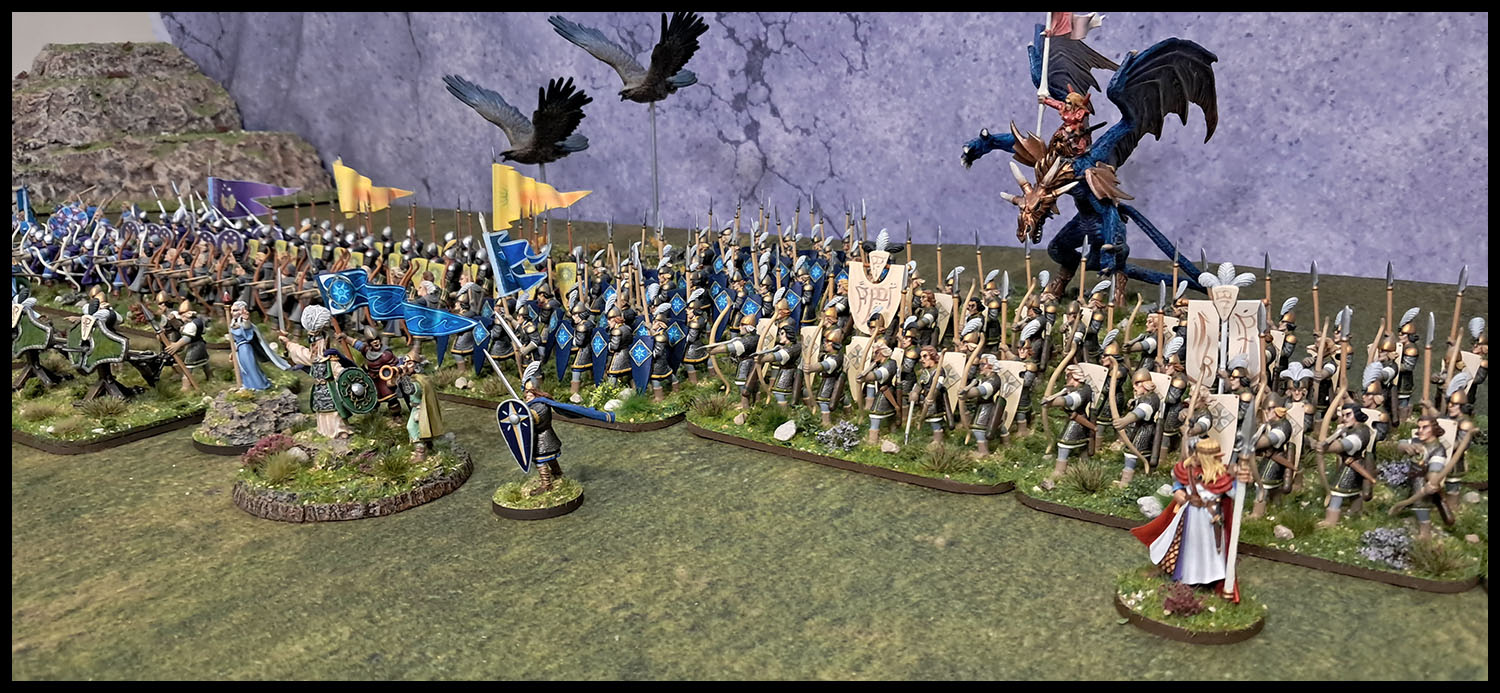
Two views: Right to left and left to right.


A top down view to show how the army fits on to a 6x4 table. They make quite a footprint although there are a lot of light troops and not many heavy warriors. The idea is to make the tree folk very tough and hope that the lighter flanks are capable of harassing, slowing and reducing the enemy by evading and attacking on their own terms. I don't know if this will work.